EASY HALLOWE’EN CRAFT: JACK O’LANTERN SUNCATCHERS
 Remember when I said that we we’rent putting Wyndham in daycare after-school? Or that TV wasn’t going to be my babysitter every single day? Yea. about that.
It’s been hard, obviously – to keep up with the equivalent of what should be my 8 hour work days as a mom who works from home. So far? So far I’m exhausted in wading through this new shift, yet totally revelling in all of the time I’ve been spending with my guy.
It really does ease the annoyance of working late nights after he and his sister are in bed to make up for lost time. I’m trying not to think about the things I’m missing out on; late evening yoga classes, reading, Netflix or crafting. I think about what I’ve gained when I’m lacking the dedication at 9PM, when after a long day all I want is to curl up next to Trev with a book or a show.
This is my new regular and that’s all there is to it. I’ve gotten back into waking up early some days, like really early…before anyone else in the house is up. It feels like I’ve carved out this secret little compartment of time for myself that allows me to fly through some work in anticipation that I can take back my evening to do some of the other things I enjoy. You know, actually hang-out with my other love, just the two of us.
It’s as if by some odd flash of common sense, that I’ve given myself some time to settle into this new routine before Abby begins staying home with me part-time in the New Year. Originally we were going to take her out of full-time daycare this autumn but then we shook our heads a bit and reassessed.
One thing at a time, one thing at a time.
Which is a really good analogy to follow when I pick up Wyndham from school. The days are so busy, so jam-packed with to-do lists, that if I don’t have a few planned activities mapped out for us for the week, I’m kind of screwed. As chief-in-residence-memory-maker, I want to have fun with my boy, I want to do new things with him and create a space and experiences for him that make his eyes light up with joy and fulfilment. Where I’m not a stress-bag about it.
So I make play-dates with his friends, and make faces out of food and execute craft projects to do together. In being honest, there are also the days that he does indeed hunker down and watch several episodes of his favourite shows on Netflix; wherein I toss him a quick snack of PB&J, screw those fun food plates! Where free play reigns supreme and I had not a planning moment involved in what he does or how he spends his time. This is important too.
Well, this week…this week I really had my shit together. I had sugar and gluten free apple and pumpkin pies leftover from thanksgiving to slice up for snacks. I invited a couple of our neighbours (gorgeously adorable), sons over for a crafting play-date. I’ve kept a reasonably clean and tidy house and only ordered take-out once this week. Success!
As I sit here typing, one of those dang cute Jack O’ Lantern ‘suncatchers’ (as seen below), picks up some chunks of morning light from my deck window to shoot tiny particles of light; dancing specks of dust and shadow across my desk dining room table. Everything in this moment feels in place. Rather good really.
Making crafts with my kids doesn’t have to be a chore, especially for a creative like myself. Clearly I enjoy this sort of thing. I’m going to go out on a limb here and present you this easy craft project for ALL types of parents, (yep, this quick project is glue, paint and glitter-free), even those of you who shiver at the thought of craft-time. The thing is? Kids LOVE it. I could link-up a bunch of research about how creative, sensory activities and making art for little ones is vastly important for their development in a myriad of ways, but I won’t. The bottom line is that it’s good for their little brains; their wild and wanting souls and busy hands. Just as important as sports, academia, music and free-play.
I first discovered the wonders of contact paper for craft making with kids a few weeks ago via my pal Asia Citro of Fun At Home With Kids. Now that mom has it going on. I was so inspired by how she mothers and was especially appreciative of her Starter Art Kit list. The dollar-store is great for many things. There are a few super-cool things on that list that you can’t find at a dollar-store (including contact paper). (If you’re a nerd-o creative type like me and that list makes you drool a little be forewarned: Discount School Supply doesn’t deliver to Canada and yes, you REALLY DO need those liquid watercolours. They are the bomb-diggs. I ordered mine via Scholar’s Choice.)
Now that we’ve gotten that little digression out of the way, onto the instructions for those cute suncatchers! It’s Hallowe’en time (you all know how much I love Hallowe’en, right?) and these are a pretty great activity to do over the next couple of weeks…
WHAT YOU’LL NEED:
Contact Paper (found at your local hardware, office-supply store or on-line)
Tissue Paper: black, orange and brown (we used a couple of shades of orange to really play up the stained-glass effect)
Child Safety Scissors (one pair for each child crafting)
Scissors for you (if you’re helping with cutting, depending on the age of the kids)
Hole-Punch
Ribbon or twine or yarn (whatever you have handy for hanging, we used green sequin trim because SHINY)
STEP ONE:
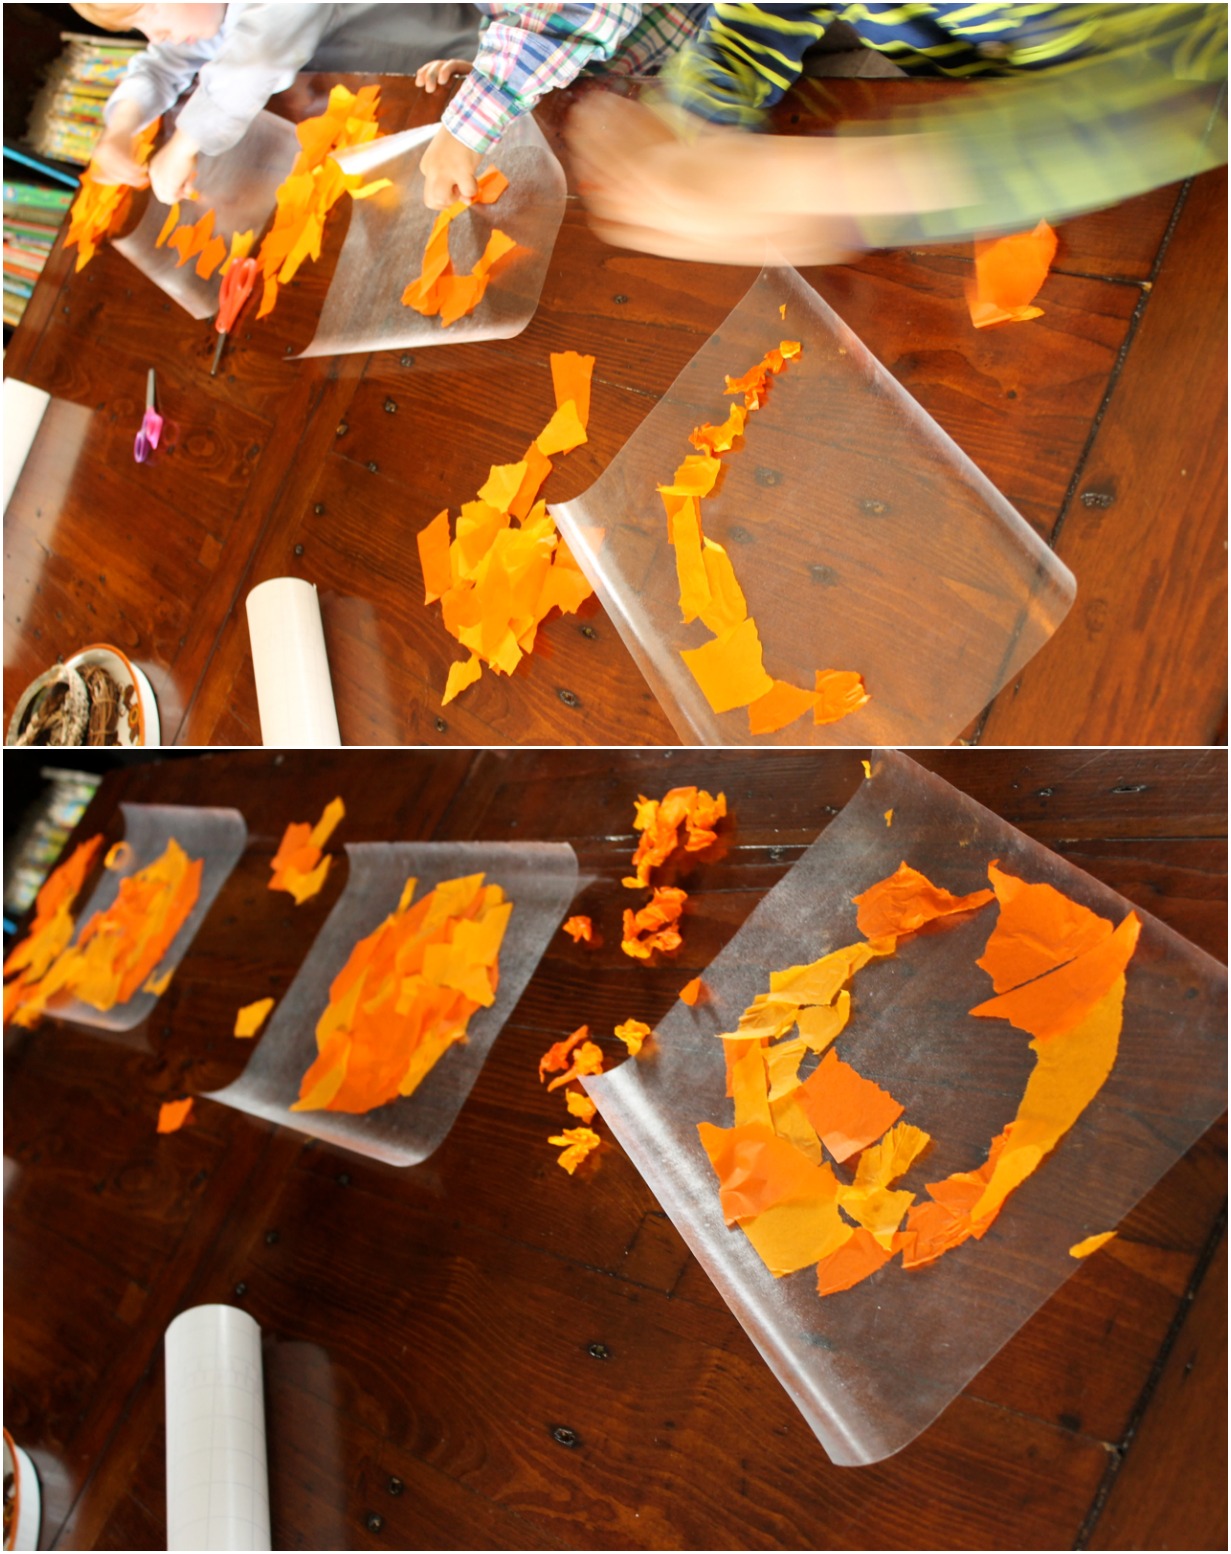
Cut lengths of contact paper to the desired size of how large you’d like the Jack O’Lanterns to be. Depending on the age of the kids, they can do this themselves. Start ripping up haphazard pieces of tissue paper and have each child build themselves up a little pile to make their pumpkin. The great thing about this project is that it’s a wonderful sensory experience and a wide range of ages can enjoy in the creation process.
STEP TWO:
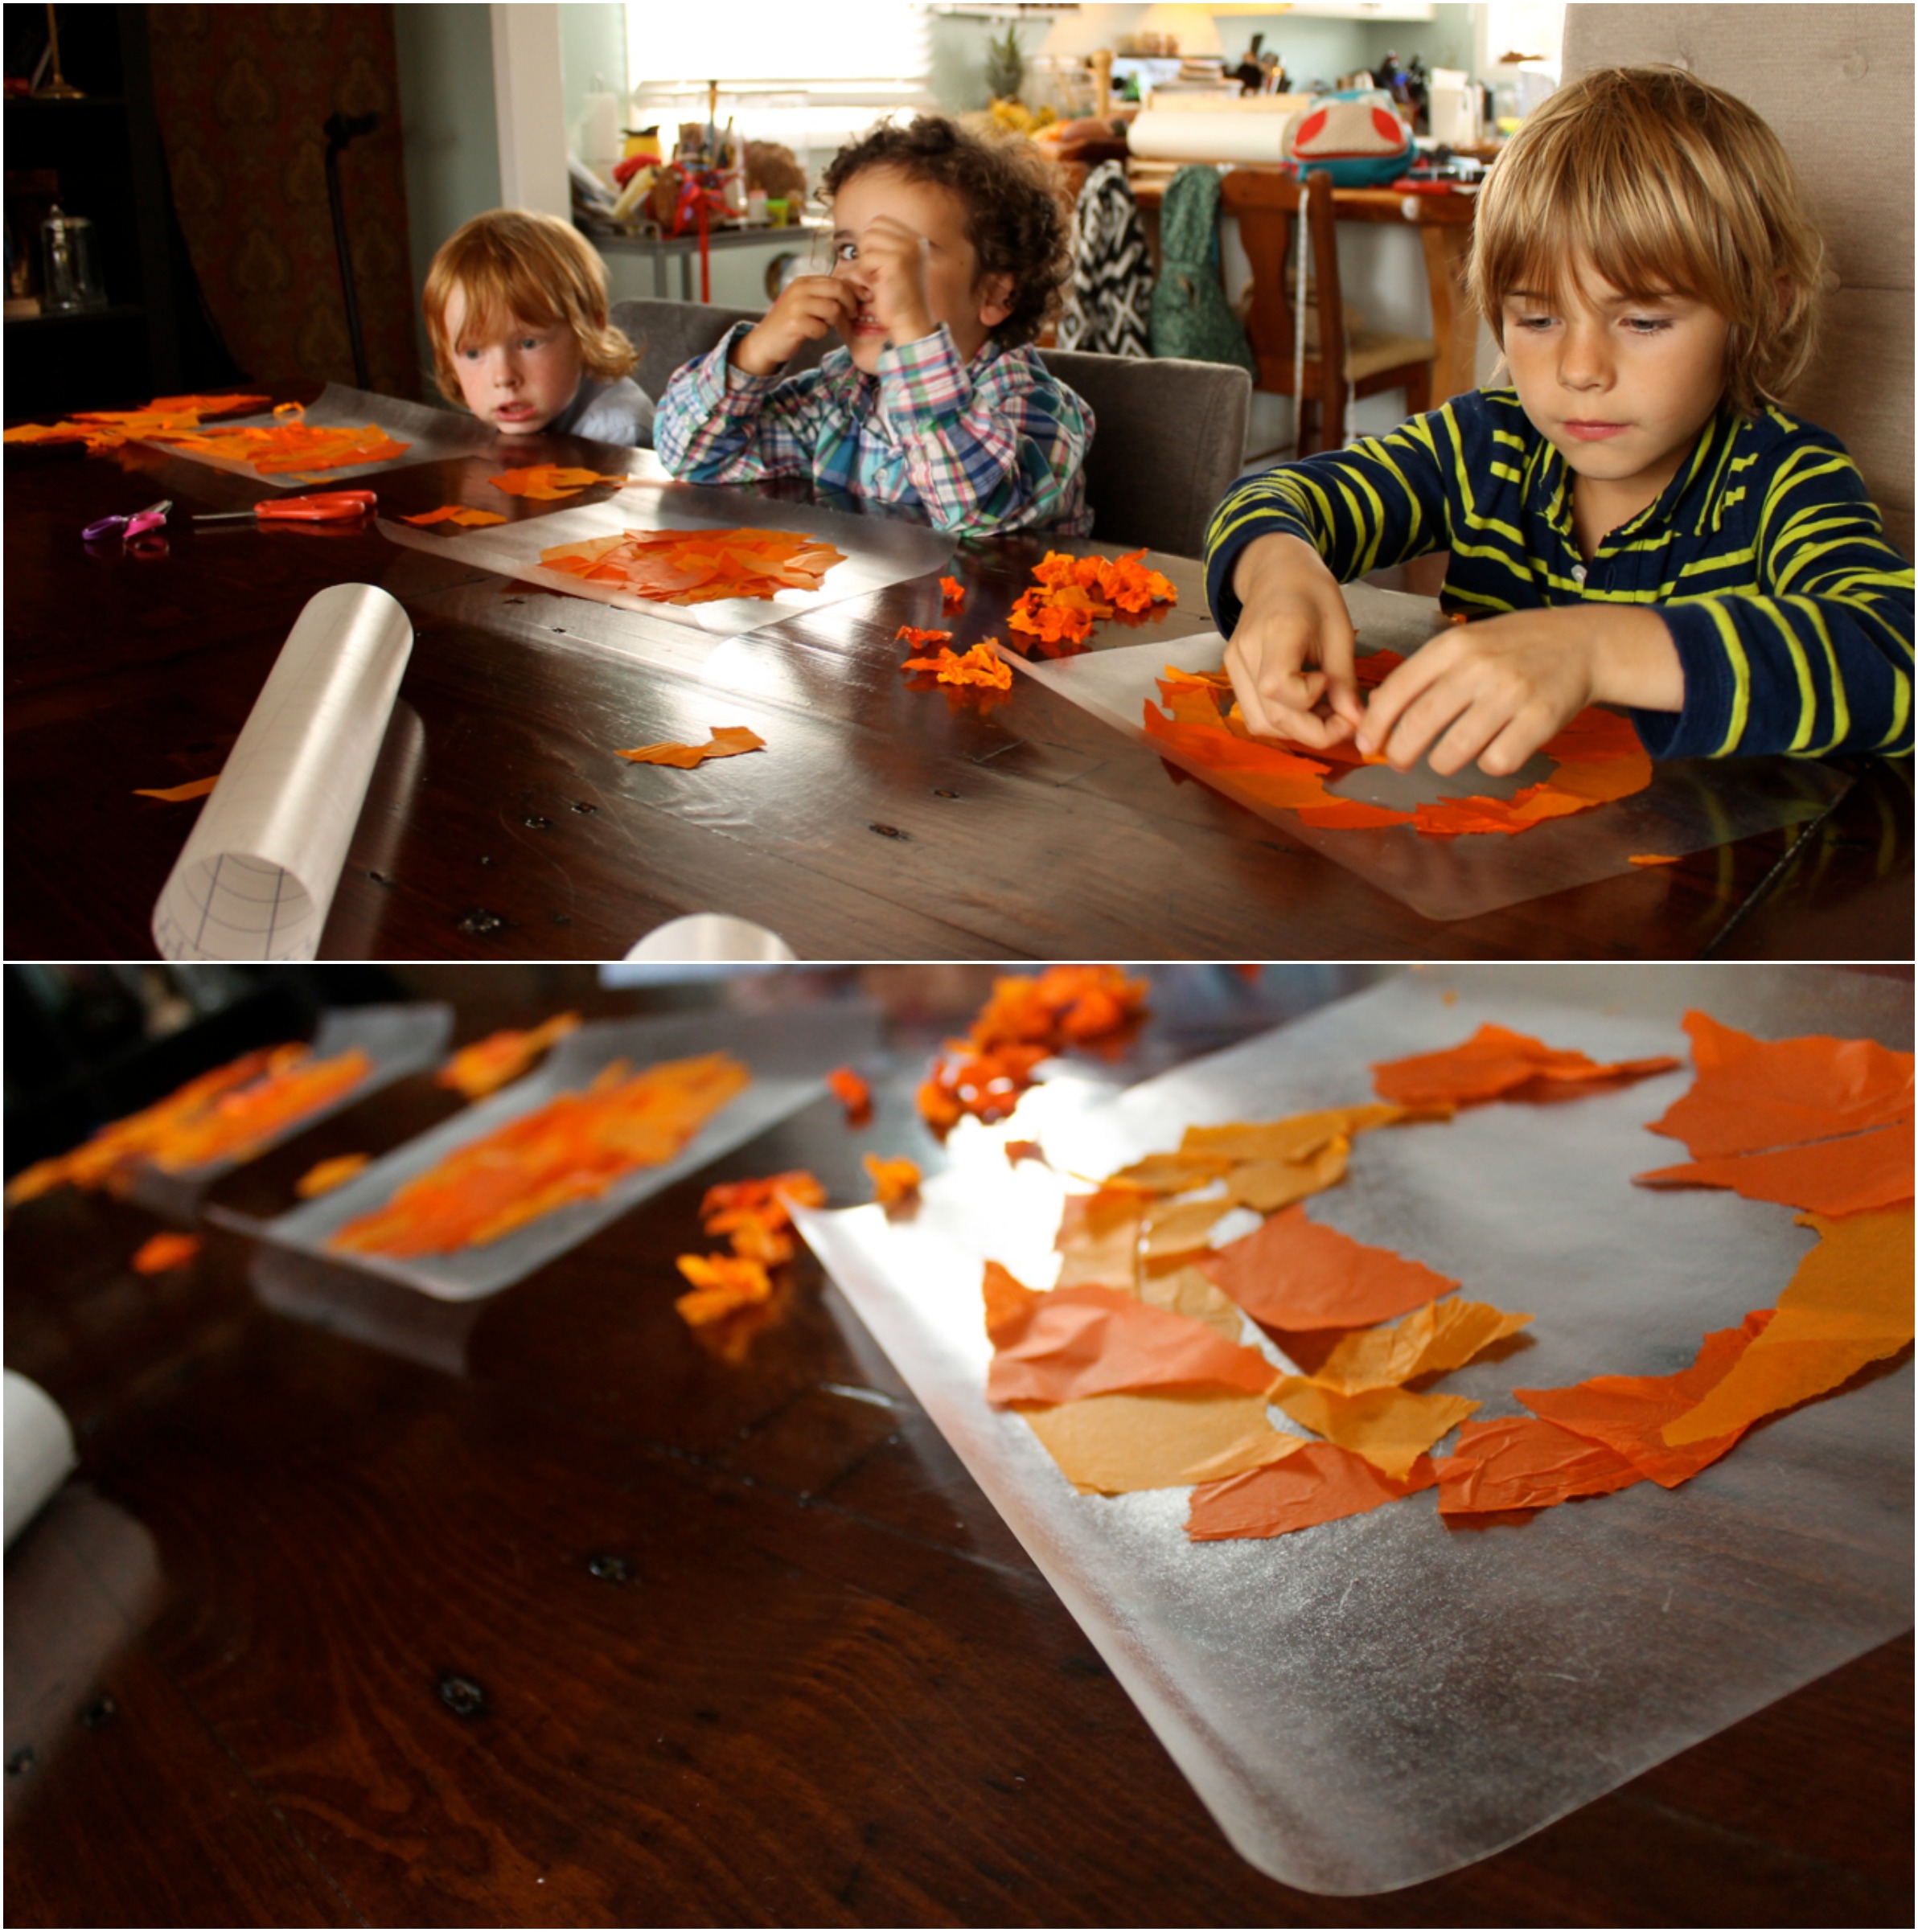
The easiest way for the younger ones to do this is for you to instruct them to make a circle or oval that they can fill in. It doesn’t have to be perfect. Art never is. Neither are real pumpkins (in the symmetrical sense), for that matter, so. Nose-picking may occur. Watch them marvel at how it all sticks to the paper. Expect much guffawing and exclaiming about it all.
 STEP THREE:
Once the ‘pumpkins’ are filled in, move onto cutting out shapes out of black tissue paper for the noses, eyes and mouths. Now would be a good time to engage in some role-play! I wasn’t too hard-pressed to get the boys to exhibit their scariest faces and loudest roars. It was only difficult to get them to stop. Surprise, that. Hallowe’en can be a scary time for little ones who don’t understand what it’s all about. Rather than surprise them with all of it in one day, a slow build-up like this, talking about creepy stuff in a fun way…really helps I find. Depending on how good your child is with the scissors, they may want your help in cutting out the shapes. These guys did because they wanted the, ‘scariest mouths, eyes and noses EVARRRRR!!!’ I did my best. Have them top it off with a little square or rectangle shape cut out of brown tissue paper for the stem. (This is where you are going to make a small cut-out with the hole-punch to string your ribbon or twine through to hang it up!)
 STEP FOUR:
Have them (assistance may be required), carefully place their noses, mouths and eyes where they want on their Jack O’ Lanterns. Even a slight movement of air will cause them to stray, as they aren’t sticking to anything. They’re just laying there on top on the ‘pumpkins, waiting for another layer of contact paper to hold everything together. So do that. This can be the tricky part. Help them carefully line-up another piece of contact paper (the same size), over top of their creation, starting with an edge. Don’t be too concerned about it a however, a small bump or line or air bubble is fine. Again, nothing has to be perfect here, this is a kid craft after all. Same goes for the cutting. They may or may not require your help in cutting out their pumpkin!


 STEP FIVE:
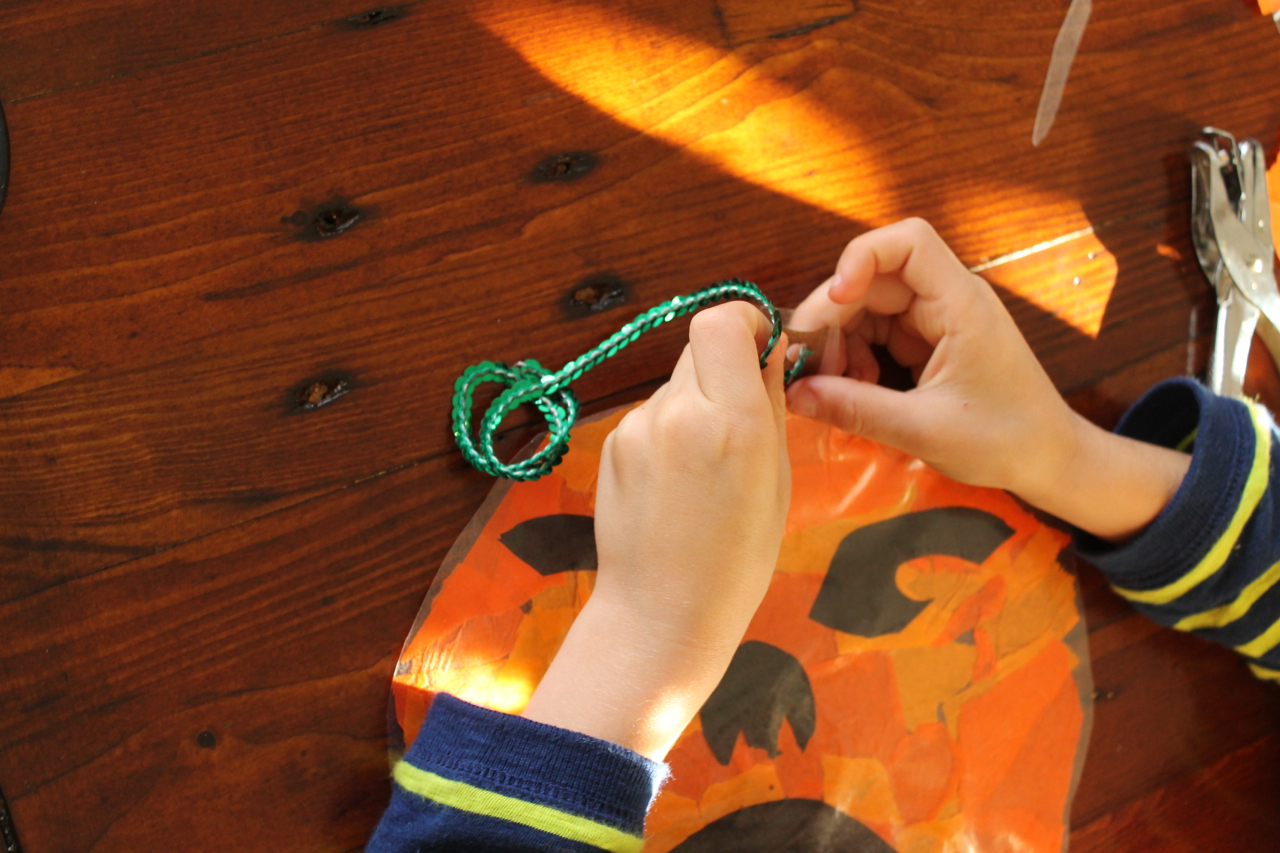
All that is left to do is hole-punch the stem and feed your string or twine through the hole, looping a knot at the end. You can make it as long or short as you want, the length depends on where you are going to hang it down from to shine through a window in your house or on your front door. (If you have a window there.) See those happy face down there? Aaaand scene.

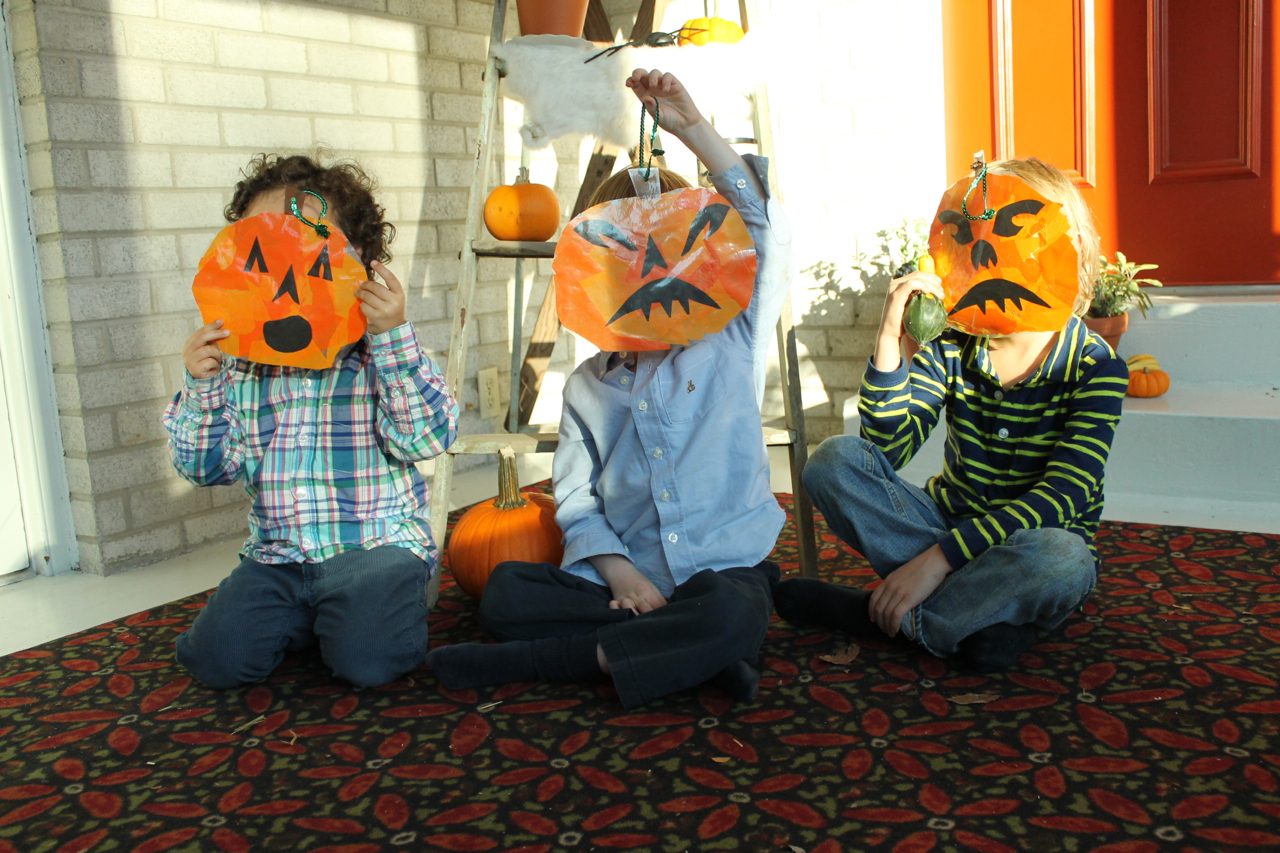
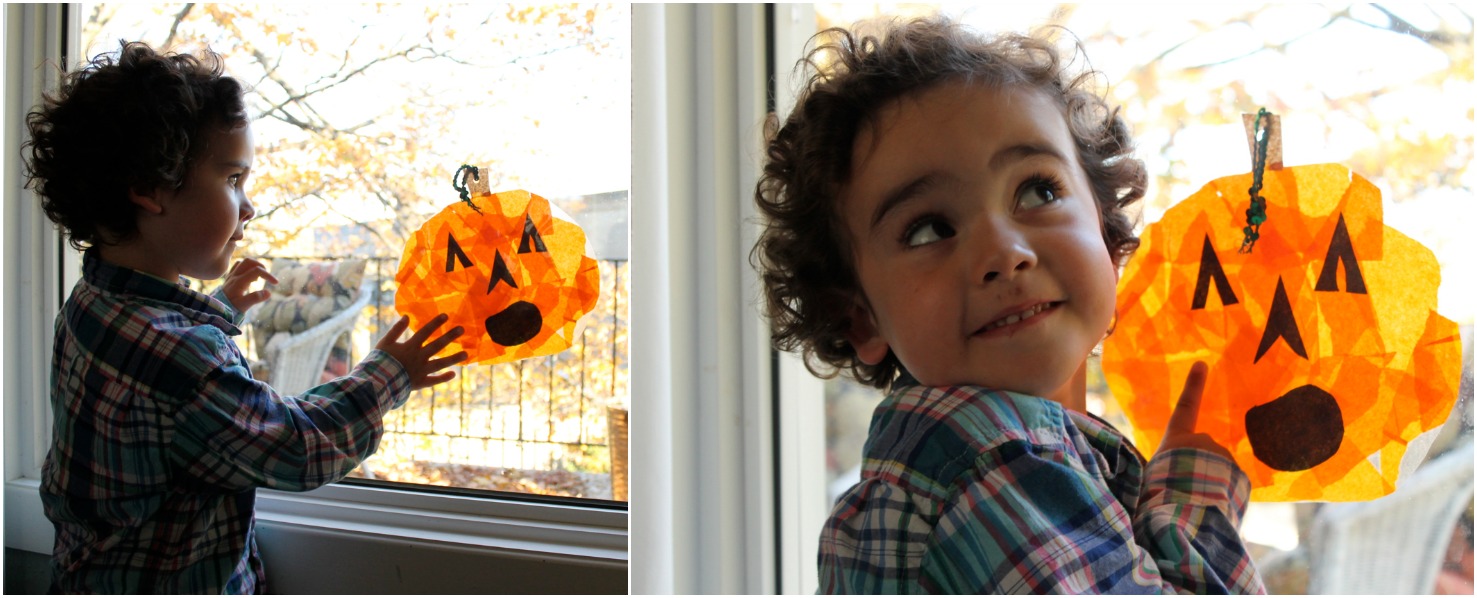
Disclaimer: I received permission from our neighbours kids’ parents to use photos of them in this post. This is important you guys. In case you’re a newbie blogger (or perhaps even a seasoned one), who doesn’t know that.
Until the next. XO


These are really wonderful. It looks like they had a blast making them.
JDaniel4’s Mom´s last blog post ..Spider Letter Swat- Alphabet Activity
Awe thanks! We really did have a lot of fun making these. I’m loving contact paper for making quick crafts on the fly! Little mess = the perfect solution to make something after school/before dinner. So happy you stopped by, hope to see you again
Thats really fantastic idea you share. My kids definitely like it. Kids want to do always funny job. But it has also a lot creative working.thanks for nice post.
Halloween Costume Idea´s last blog post ..5 Best Halloween Costumes 2013, You Would Like To Buy