Gluten Free Strawberry Rhubarb Pie

…
It’s that time of year. My very favourite type of harvest. Strawberries. Pure bliss. There is no comparing fresh, in season, organic strawberries to that of the supermarket (hello GMO), variety. They are an entirely different fruit. As in, WAY BETTER tasting and WAY BETTER for you. (Me!)

…
For quite a few years now we’ve made strawberry jam, and a big batch of strawberry rhubarb pies a couple of times in the summer from our pickings. Since this is our first year growing our own, there isn’t much abundance to pick from, so we’ll be picking at a local organic farm again. Probably always will with the amount we consume, freeze and jar.

…
…
Crust Preparation & Directions:
STEP ONE:
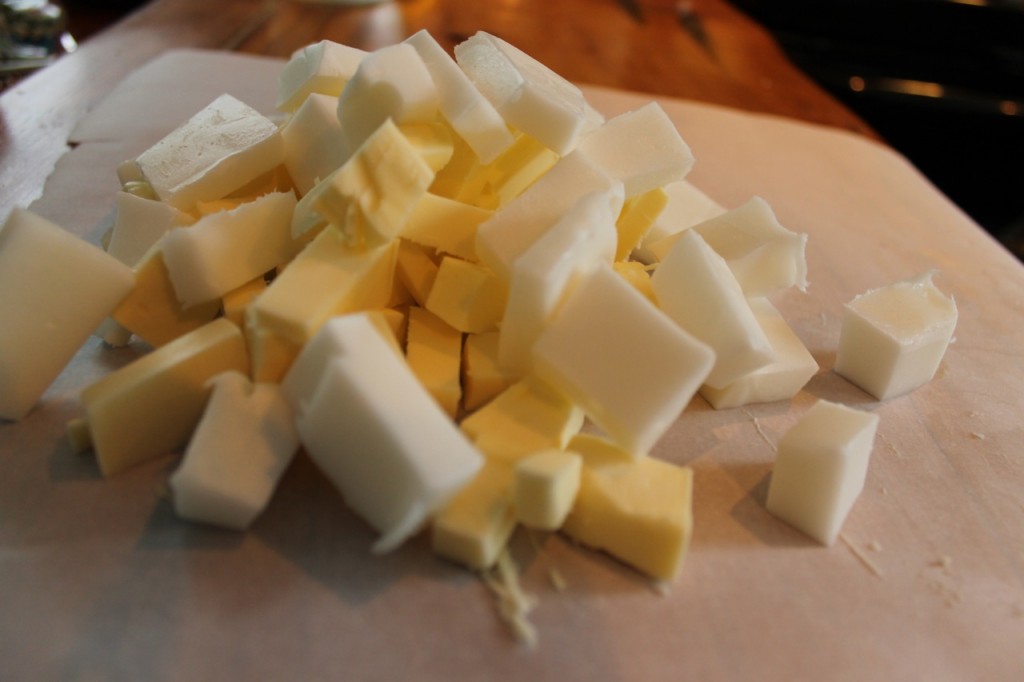
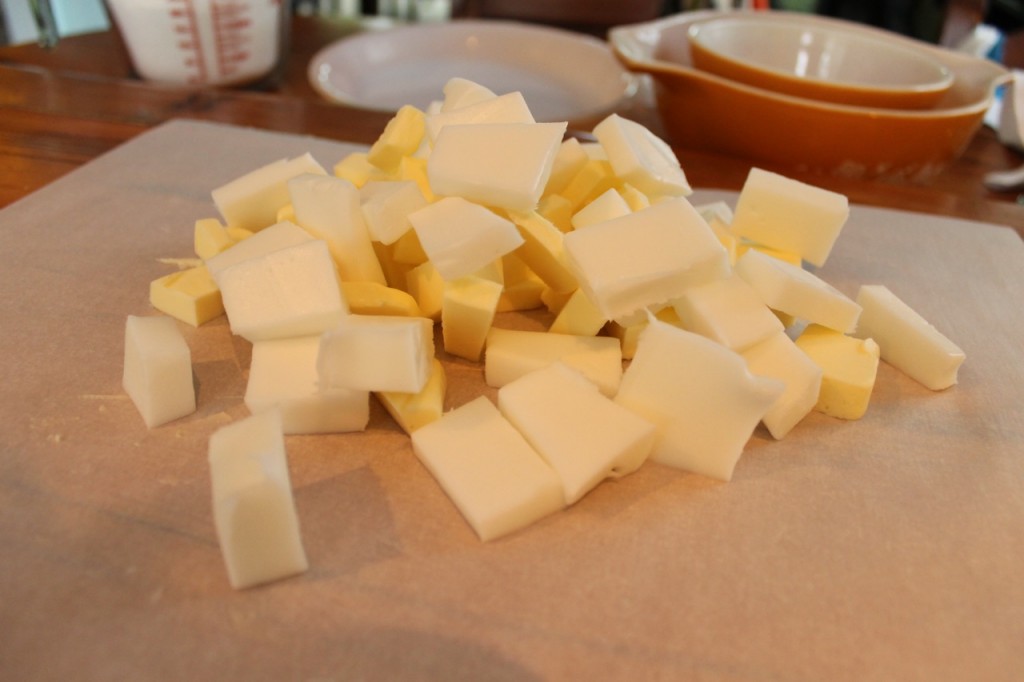
Cube the butter and lard and freeze for about 20 minutes prior to woking with it. (The colder they are, the flakier your crust will turn out!) Meanwhile, prepare your other crust ingredients and some of your filling ingredients. I usually make my pastry dough the night before and pop it in the fridge to bake with in the morning. Which means washing, slicing, dicing and bagging the strawberries and rhubarb the night before too. Makes pie baking in the wee hours of the morning a breeze.
…
…
STEP TWO:
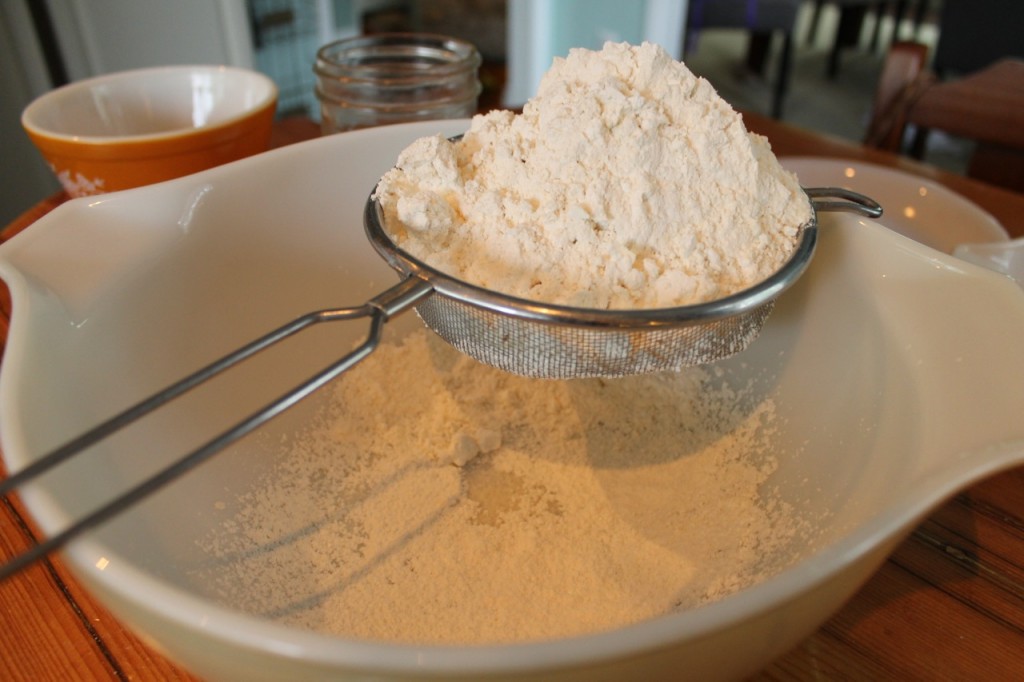
Sift together the flours and salt. (THIS is the coconut flour (automatically g-free) I use, THIS is the gluten free flour I use.)
…
STEP THREE:
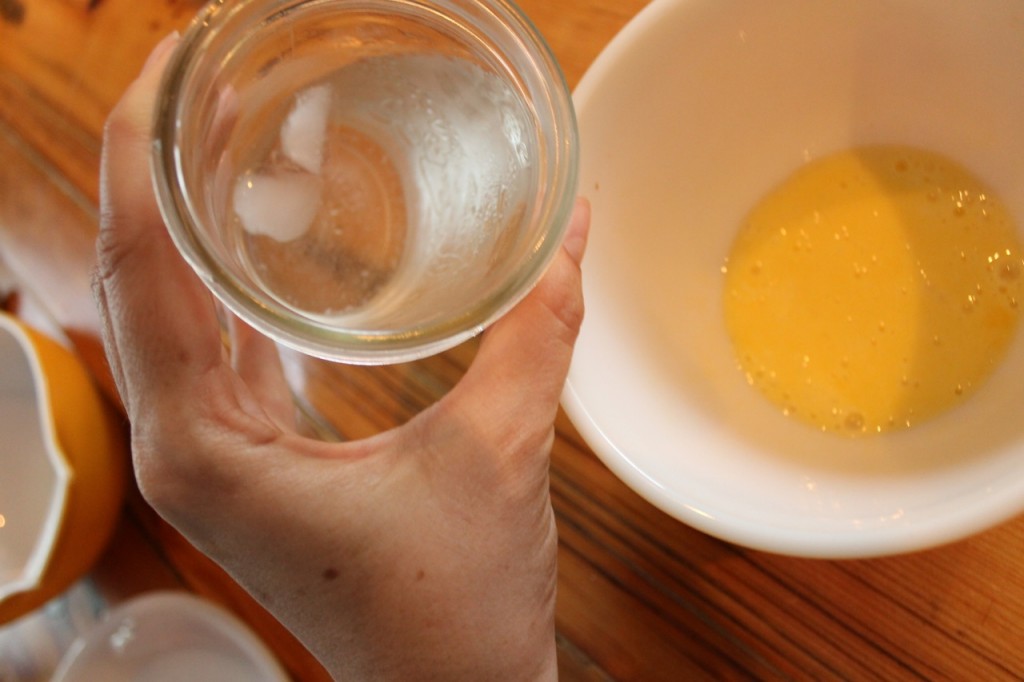
Whisk together your eggs, vinegar and just a small glug of your ice cold water. (Get ye some ice cubes in there. The colder the ingredients and less handled the dough; the flakier your crust!) Set aside. (You may or may not need more water later.)
…
STEP FOUR:
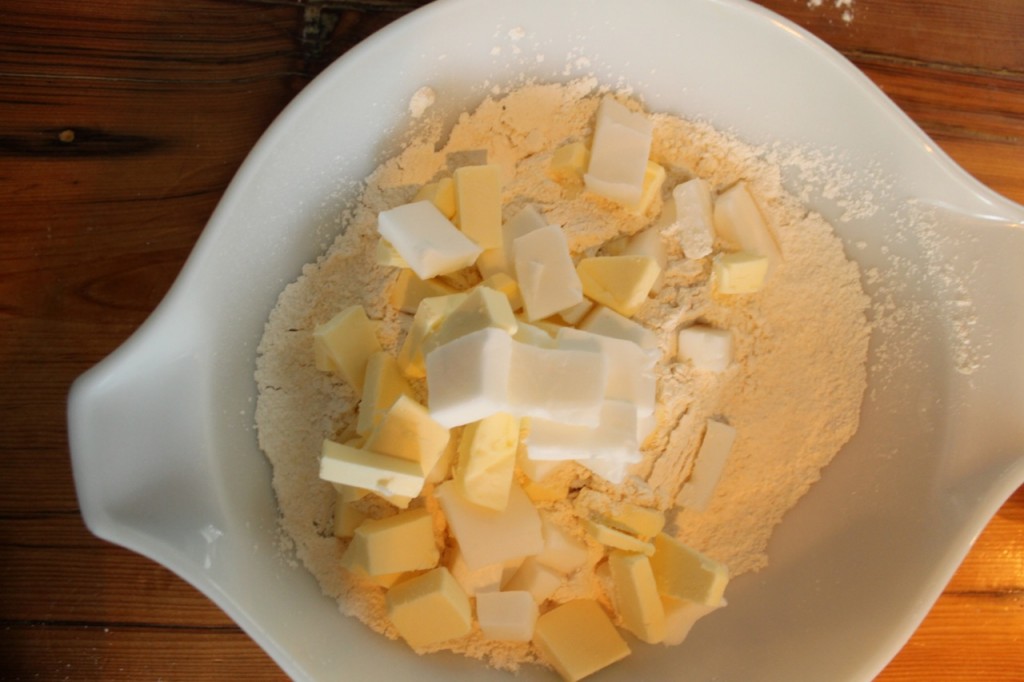
Cut the lard and butter (from your freezer), into the flour and salt mixture. Use a pastry blender or even two knives works just fine. Your mixture should look like tiny cheese curds or crumbly oatmeal. heck I don’t know…it should look like that down there.
…

…
STEP FIVE:
Gradually add in your wet mixture. You only need enough to make everything cling together! Don’t handle it too much! Okay? Okay. Don’t be scared of it either. It’ll be amazing.
STEP SIX:
Gather it all into a big ball and cut into six portions. I like to quickly pat it into a big log to divide. Put each portion in a big ziplock bag and give it a wee roll. Just enough to flatten it a bit like a pancake. I do this because working with gluten free dough can be frustrating and crumbles and splits like nobody’s business, so this helps. Chill the portions you are going to use for a couple of hours or overnight as I mentioned. Freeze what you aren’t.

…

…
STEP SIX:
Between two lightly floured (the g-free flour of course) sheets of parchment paper begin to roll out each portion. Do not forgo this step. Remember when I said gluten free pastry dough is difficult to work with? You’ll be cursing in no time if you think you can just roll out your dough the regular way, on a floured surface, sans paper – nuh uh. I mean, you can try, but you’ll pretty much hate life. So. This way makes the transfer to your pie plate happen like a breeze. So do that. Lay the dough into your pie plate(s). Trim and fill and flute and all that jazz. Get fancy if you wanna. I always have grand plans to make a crosshatched topper, but yea. Never happens. But I haven’t mastered the fine art of clandestine baking yet. I always end up in the finishing stages with two little ones pulling on me and yammering away / bickering with each-other, so. Anyways….put those dough lined pie plates back in the fridge. Keep that dough chilled right before baking! (Which means I don’t roll out my toppers until after I’ve filled up my pies.)
Filling Preparation & Directions
STEP ONE:
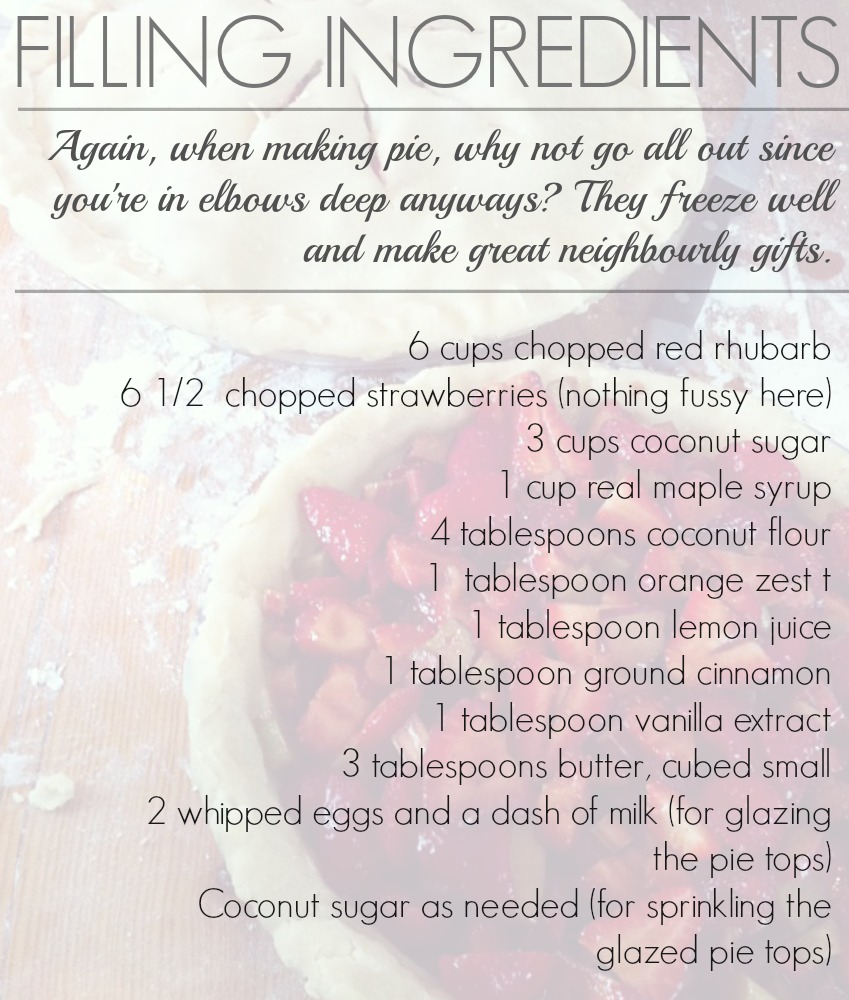
Preheat over to 425 F. The rest is easy street. As I said before I do this step the night before baking along with making the pie dough. Wash, de-stem and chop the rhubarb and strawberries. Nothing fancy doing. Refrigerate. Or, move on to step two if you’ve left it till baking time.

…
STEP TWO:
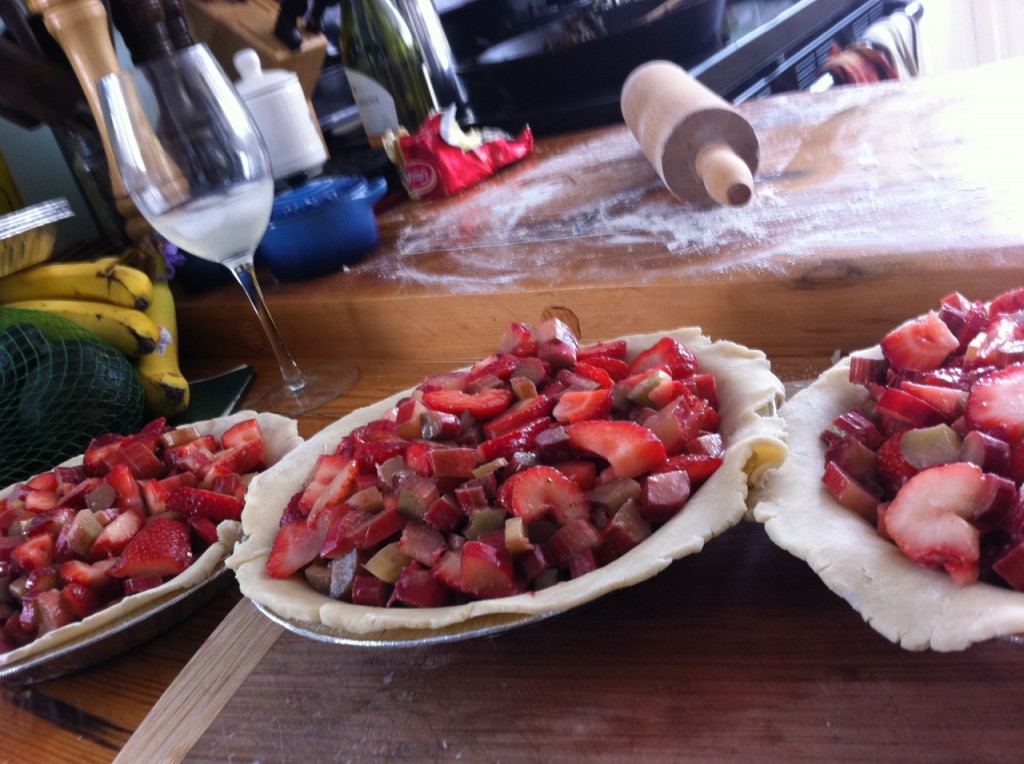
Mix all of your filling ingredients together any which way you want. Don’t matter. You’ll be needing a big-ass bowl for this. If you aren’t making all three pies – freeze the rest of your filling for some sexy pie baking action at a later date. Don’t tell me pie baking isn’t sexy. Flip on some Billie Holiday and putter around in your bare feet. Eat a ton of strawberries while you do it. Drink something hot, frothy, caffeine rich and decadent if you’re baking in the morning. Sip a generous glass of pinot grigio while prepping and nomming on berries if you’re a night-time baker. The actual eating of the pie? Just about one of the sexiest things around. Now that we’re clear on that, pour out the filling into your chilled pie crusts and dot with the reserved butter from your ingredients list.

…
…
STEP THREE:
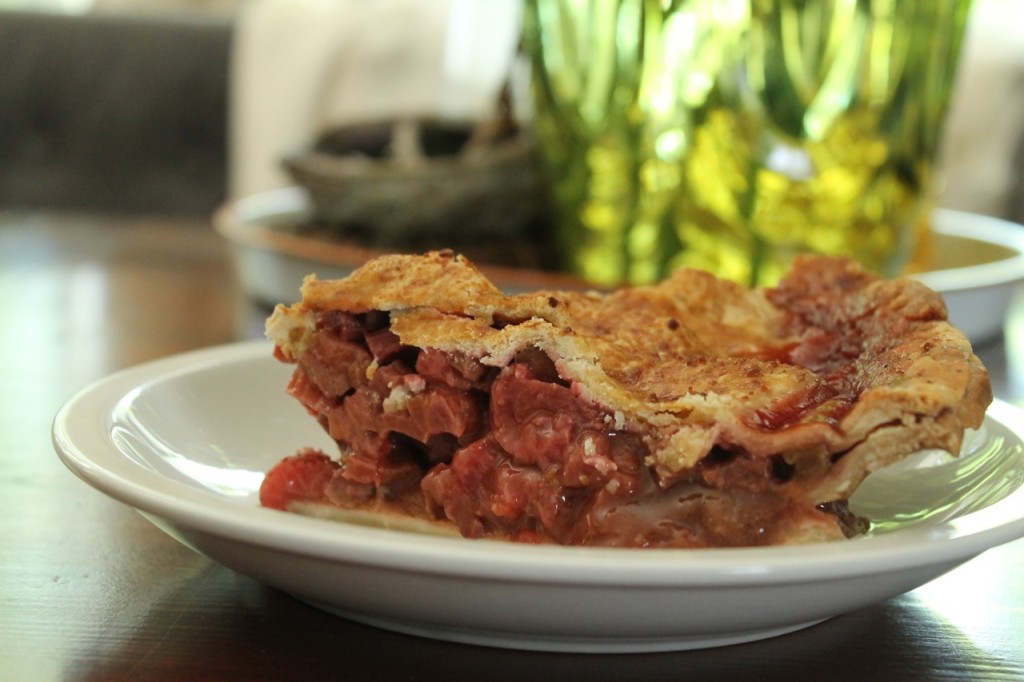
Make your egg wash by whisking the two eggs together with a wee dash of milk. Brush the rims of the pie crust(s) ensuring the tops seal well and good. Roll out your top(s) the same as you did the bottom(s) in STEP SIX of the Crust Preparation & Directions. Place gently and evenly on top of your filled shells. Crimp to seal edges however you want. Fork, finger and thumb, fancy thing-a-mah-bobber that you might have, what eve’s. Brush with egg white wash and garnish with coconut sugar. Collar with foil and bake on a cookie sheet (to save the bottom of your oven from a nasty, impossible to clean up mess), for 15 minutes at 425 F, then remove the foil and turn down the heat to 375 F and bake for a another 40-45 minutes. You want to see some delicious, shiny red bubbling action. Remove from the oven and let cool before serving. Some people like it warm with vanilla ice-cream; I prefer it cold from the fridge with vanilla frozen yogurt.

…
…
Until the next. XO
Type, Search, Hit Enter

WELCOME
This is the new home to a blog collective of two voices. A rich carnival for your senses. Recipes from life, love and the kitchen. Tellers of stories on motherhood, woman-hood and rabble-rousing. Of loss and triumph – lightness and darkness. From our tribes to yours…we look forward to connecting with you.

