DIY Duct Tape Holiday Banner (& Baby Shower!)

…
That’s right. Duct tape. It’s all the rage, didn’t you know? So incredibly easy, perfect to be hung in a multitude of places. I made a few of them, one for our mantle, one for the dreamcatcher wreath on our door (DIY for that to come!) and another for some fun I had styling an adorable snow owl themed baby shower.
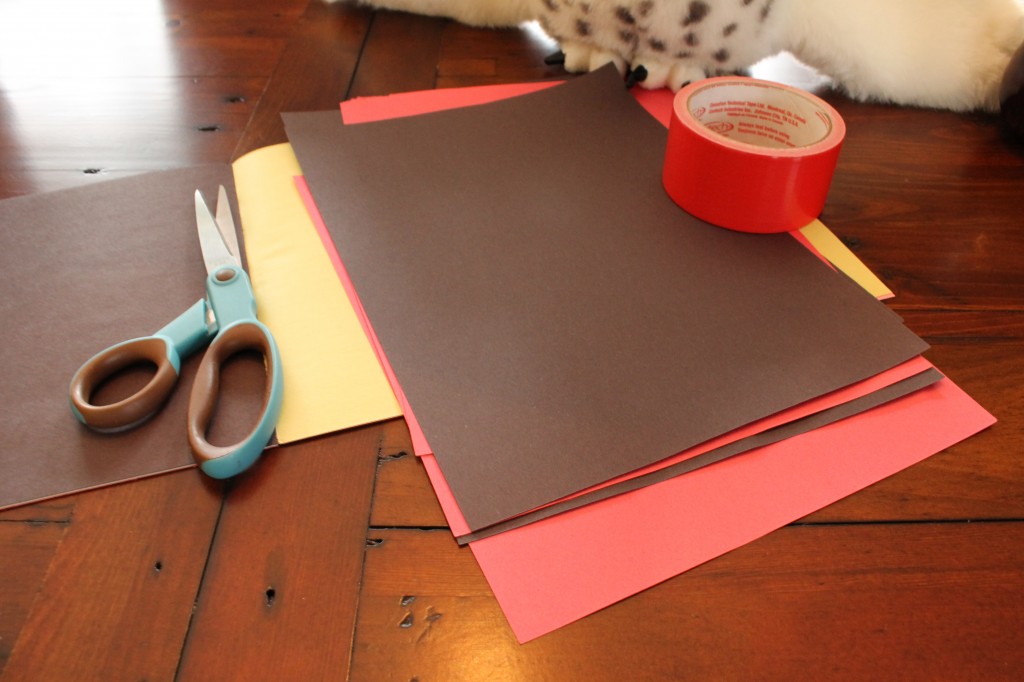
~ materials ~
1. The tape: Choose the colour of duct tape you want and be sure to grab the extra wide kind (less prep that way). 2. The paper: You can use construction paper or thicker styles, like bristol board if you want something really stiff and durable. 4. The needle: You’ll also need an embroidery needle, some cotton string (even cooking twine will do if you’re down with the natural/rustic look) or jute. If you want something a bit more glitzy, get ye to a craft supply shop and hook up whatever kind of string you fancy. 6. Scissors and a marker. (Plush owl friends to keep you company, completely optional).
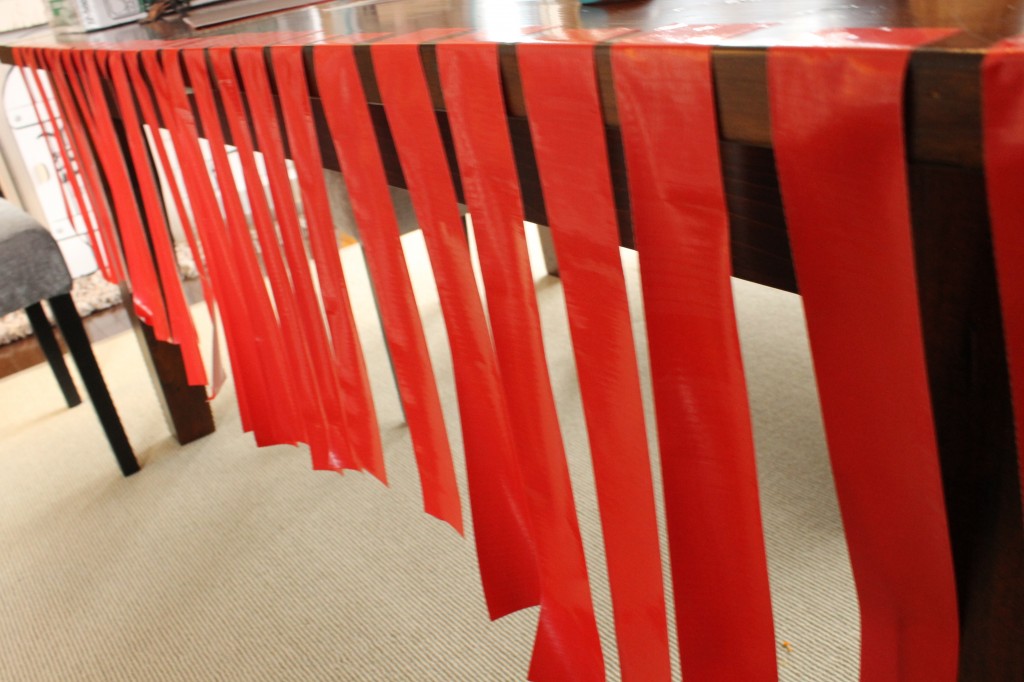
~ production line ~
Step 1. Cut a slew of long pieces of your duct tape (a tad bit longer than the length of your paper). I thought it would be faster if I did it like this rather than cut, tape, cut, tape, cut, tape – etc. I was right. Cover your paper with tape. Both sides if you are making the garland for durable outdoor use or of you are hanging it up somewhere where it will sway and dangle with the naturally circulating air (as in not flush up against the wall).
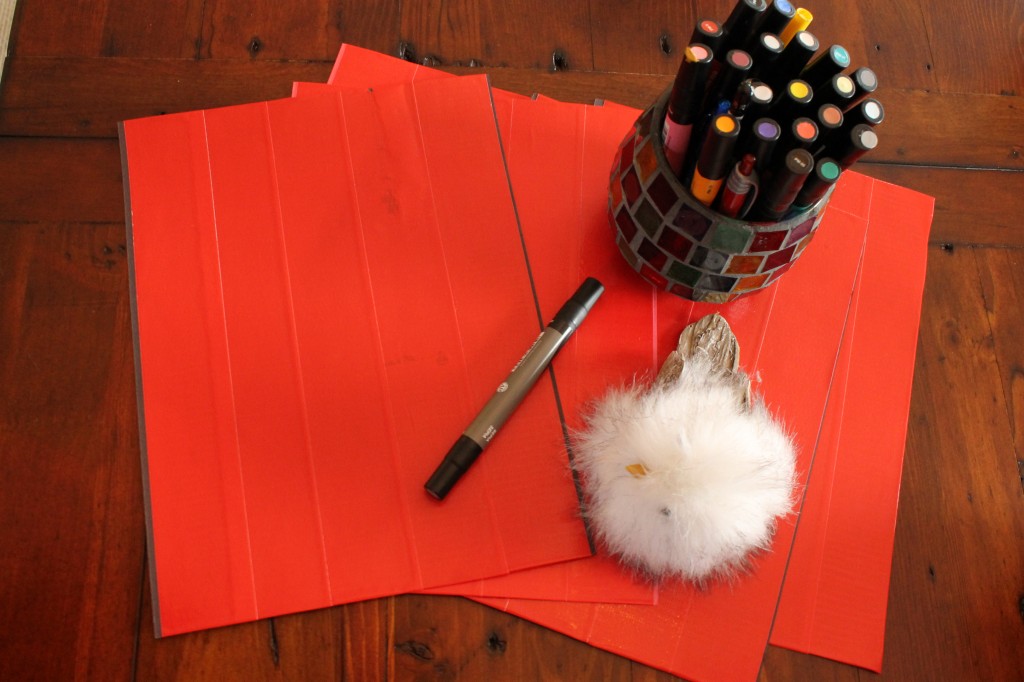
~ giddy-up ~

~ sketch out ~
Step 2. If you are somewhat killed with drawing letters and perhaps have an addiction with typography (waves hi!) then swing your lettering free-style. It doesn’t have to be perfect (unless you want that look). Alternately you can grab a stencil set of letters from any craft supply store for pennies.

~ snip away ~
Step 3. Cut away. I used scissors for most of it and an exacto knife for all of the awkward parts (insides of letters). Use a cutting mat or some layers of cardboard to protect your work surface!
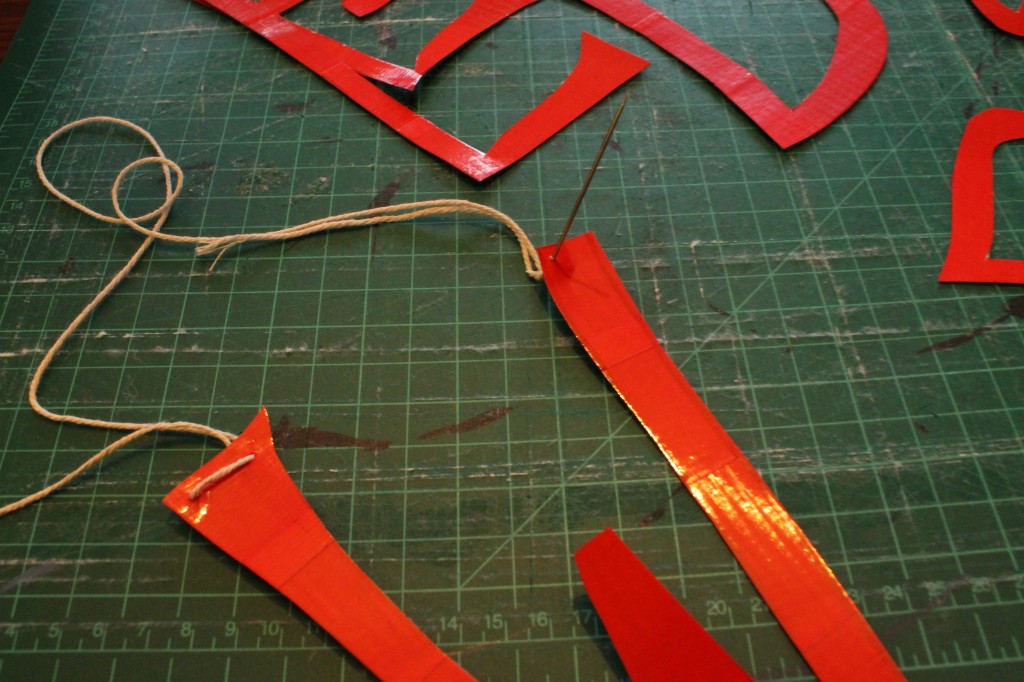
~ start threading ~
Step 4. You can thread however you want. I desired my banner to spread out nice and flush; not twisty. So I weaved in and out at each top point of the letters, pulling and adjusting the letters along to my desired look. Don’t fuss with it too much until your done threading all of the letters, then you can putter and perfect things.

~ yea baby! ~
Step 5. So you’re all done and ready to hang it up. Sweet. Have a sip of some bailey’s and coffee or on the rocks. Whatever you prefer. Get to it. No matter the time of day. ‘Tis the season and all that.
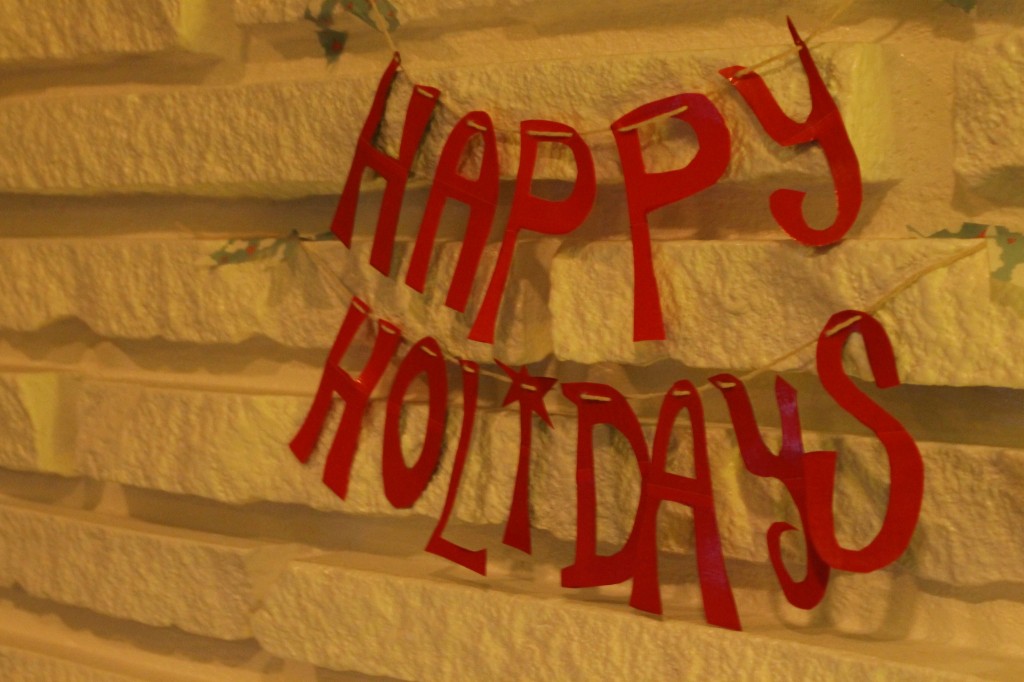
~ voila! ~
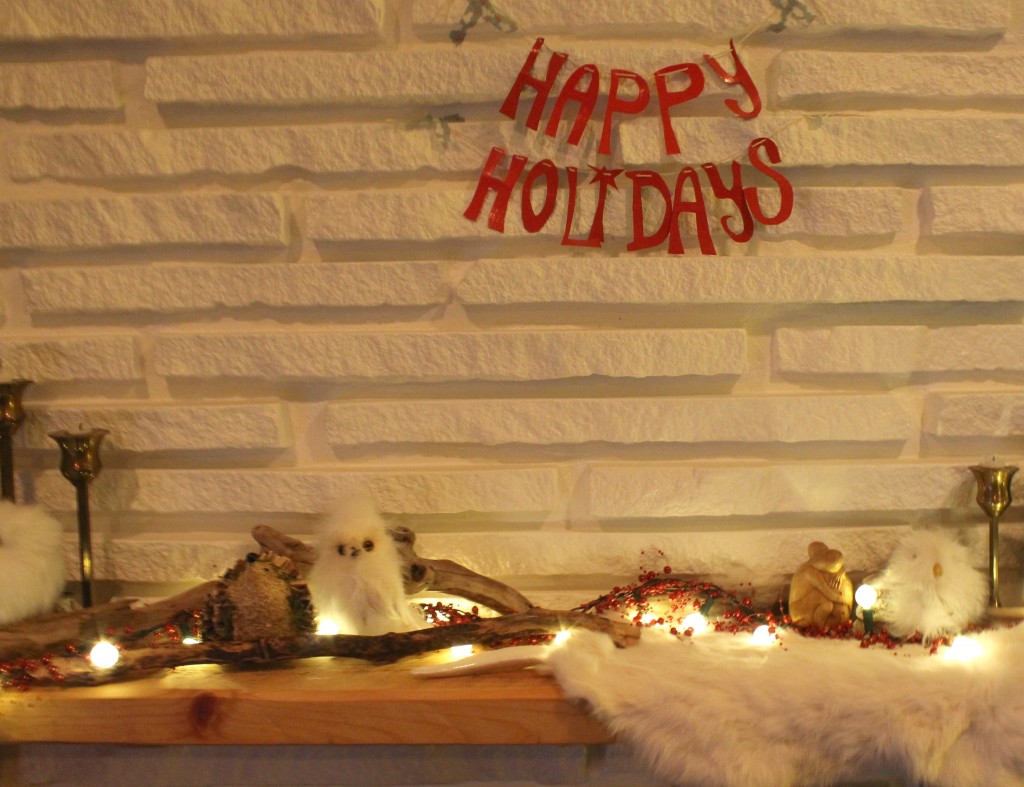
~ my pretty mantle ~
I used some washi tape (I’m all about the tape these days. have you seen this stuff? SO PRETTY? Use it EVERYWHERE).
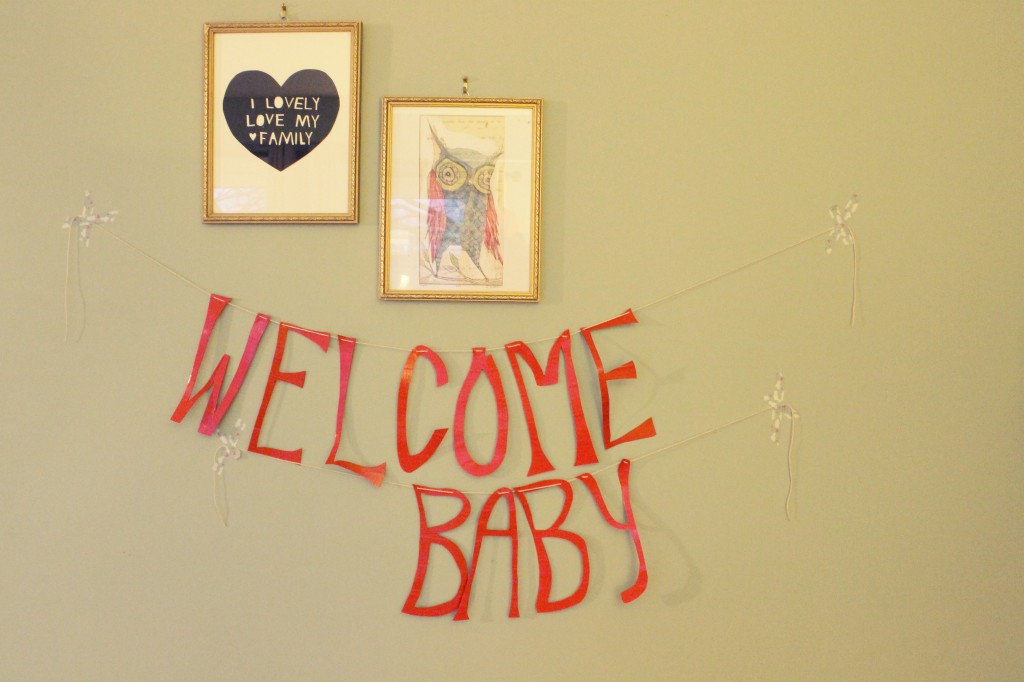
~ welcome baby ~
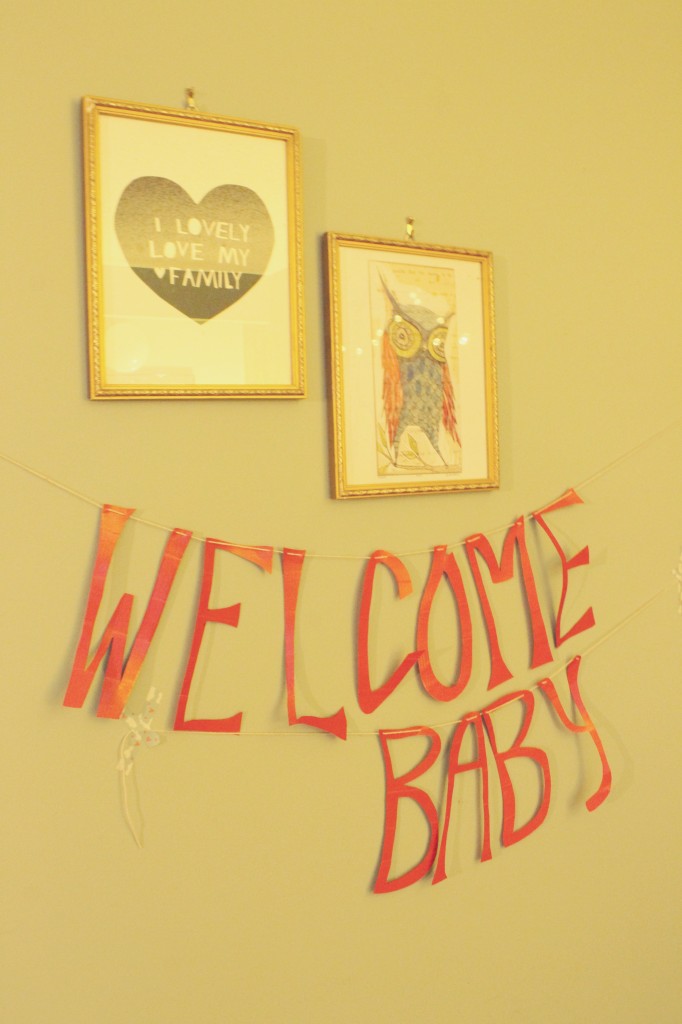
~ the drape ~
That’s it! Whatever the occasion, you can make something unique and personal. Have fun with it! I think I’ll have another Baileys. YUM. (Oh, and if you’re curious about the seriously darling, romantic snow owl baby shower I styled, check it out over on DB!)
Type, Search, Hit Enter

WELCOME
This is the new home to a blog collective of two voices. A rich carnival for your senses. Recipes from life, love and the kitchen. Tellers of stories on motherhood, woman-hood and rabble-rousing. Of loss and triumph – lightness and darkness. From our tribes to yours…we look forward to connecting with you.

